
LinkedIn places your banner above your profile picture on your LinkedIn and becomes a major part of how you are seen on the platform. As you draw people into your profile, the first thing they will notice is your banner. Therefore, it needs to represent you clearly. Which should be a beacon for who you are and your business. During setup, LinkedIn assigns you the default header until you decide to customise it. Here’s how you can change your LinkedIn banner.

Creating your LinkedIn Header Image
First of all, you need an image to put in your header. The recommended dimensions for your header is 1548 Pixels Wide and 396 pixels height. Whichever size you choose, however, you must ensure it doesn’t exceed 8MB. Make sure you upload the image as a PNG or JPEG.
For additional inspiration and ready-to-use templates, check out this guide to LinkedIn banner examples and designs to make your profile stand out.
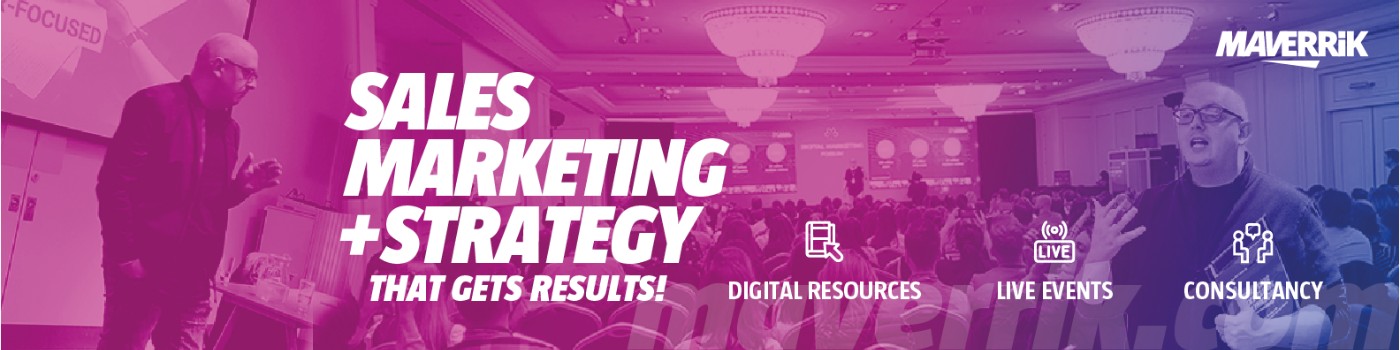
Keep in mind where you place text within your header. As your profile picture will be placed in the left-hand corner of the image you should not place text in the sector. In this example the designers have purposely left this area uncovered.
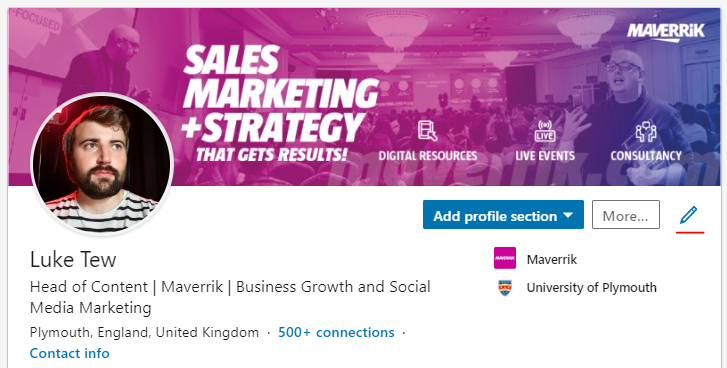
Next, to change your header, click on the pencil icon to the right of the page next to More…
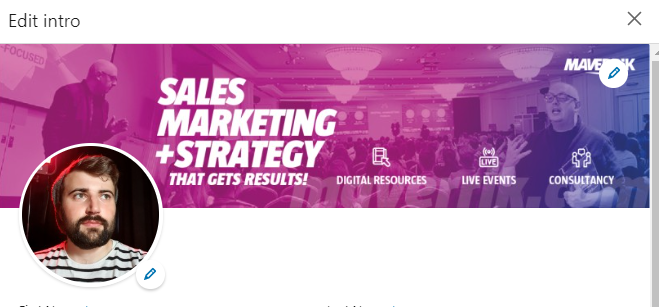
The Edit Intro section appears, giving you the option to once again click the pencil icon. Click on the pencil icon on the header image to begin changing your header.
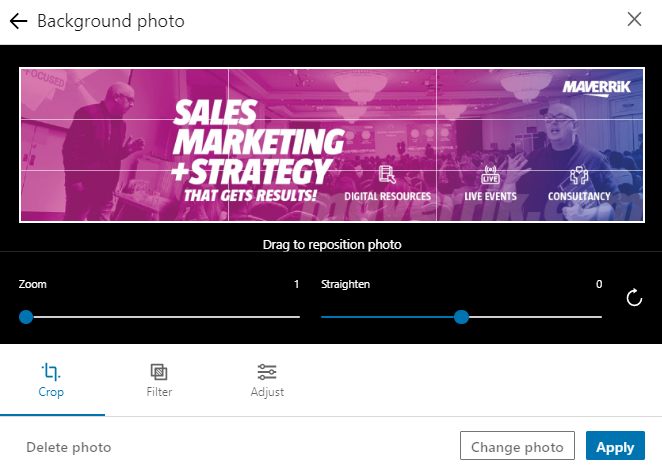
Click ‘Change photo,’ select your image from your hard drive and then click Apply to save your preference. You can Zoom and straighten your image, but and if you set the dimensions correctly, you won’t need to adjust anything. Finally, click Save so your new header becomes visible to your connections.
In conclusion, your LinkedIn header plays a key role in your personal brand presentation. Additionally, if you’re looking to change headers across all your social media pages check out our guide for creating successful media headers.
